User guide | pobvol Service Solution | Power App pssService Phone | Service activities
User guide
pobvol Service Solution
Power App pssService Phone
Version: 9'25 English /
Deutsch
Service activities
A service report is created for each service activity. This documents all service activities of the team. Recording service activities and results provides the data for the service reports.
Users of the group "Technicians" use the Power App pssService Phone on smartphones and iPhones to record service activities. Only technicians can add and edit service activities.
The data is stored in the SharePoint lists (SP lists) "Servicevorgaenge", "ServicevorgaengeP", and "ServicevorgaengeE".
Scan customer inventory and create service activity
Once QR codes or NFC tags have been created and attached to the customer inventory, your technicians can scan a unique code with their smartphone/iPhone to initiate a service activity.
Please note: The creation of QR codes or NFC tags is not part of the software solution!
Start screen
Add service activity: This icon starts the recording of a service activity.
Click on the icon 'Add service activity'. The screen 'Add Service activity' is displayed.
Screen: Add Service activity Service date: is pre-filled but can be changed.
Technician: is pre-filled, changes are not possible.
Code: The customer inventory code can be entered via the keyboard or scanned.
By clicking on this icon, the QR code can be scanned.
By clicking on this icon, the NFC code can be scanned.
Service type: is preset but can be changed if additional service types have been assigned to the device type. Your admin determined which service types are available during the installation of the solution.
Checklist: is pre-filled but can be changed if additional checklists have been assigned to the device type and the selected service type. Which checklists are available was determined by your admin during the installation of the solution.
Select 'Save Data'.
If a service activity has already been created, the activity is loaded and displayed on the 'Service activity' screen. This helps with representation! Technicians can take over and further process any service activity.
If the smartphone/iPhone is online, the process is saved in the SharePoint lists. If the app was started using Power Apps Mobile, the process is additionally saved on the device and is available the next time the app is started, even if the device should then be offline.
The process is displayed on the screen 'Service activity'. The recording of the service activity can be continued or temporarily interrupted and resumed later.
Create a service activity from an order or reminder
Instead of scanning QR or NFC codes from customer devices, the capture of a service activity can also be initiated from a service order / reminder. In this case, the customer and inventory data are also pre-filled and scanning the customer device is not required.
On the start screen of the app pssService Phone, call up an order / reminder via the chart 'My Week' or the chart 'Service Orders (Team)' and click on an inventory.
If a service activity has already been created, the process is loaded and displayed on the 'Service activity' screen. Otherwise, the 'New Service activity' screen is displayed. This helps with delegation! Technicians can thus take over and continue processing any service activity.
Screen: New service activity
All data is pre-filled, only the service date can be changed.
Select 'Save Data'.
If the smartphone/iPhone is online, the activity is saved in the SharePoint lists. If the app was started via Power Apps Mobile, the activity is additionally saved on the device and is available the next time the app is started, even if the device should then be offline.
The activity is displayed on the screen 'Service activity'. The recording of the service activity can be continued or temporarily interrupted and resumed later.
Service activity data is displayed by the app pssService Phone on the screen 'Service activity'.
Container: Service activity data
Delete: By clicking on this icon, the activity can be deleted. The icon is only visible to users who belong to the app user group 'Technicians'. The icon is not visible if a report has already been requested and approved.
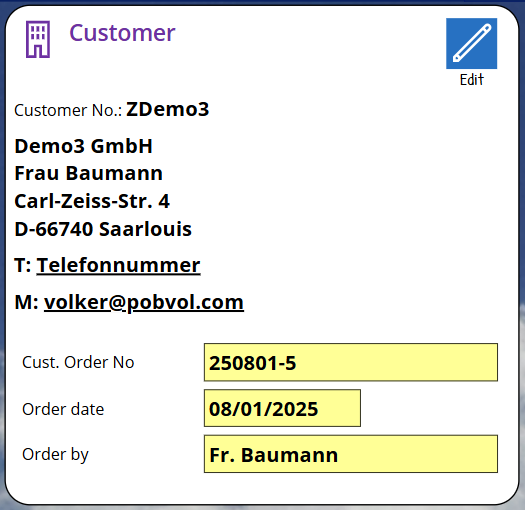
Customer data is displayed by the app pssService Phone on the screen 'Service activity' in the container 'Customer'.
Container: Customer
Edit: By clicking this icon, the editing mode can be accessed. The icon is only visible to users who belong to the app user group 'Technician'. The icon is not visible if a report has already been requested and approved.
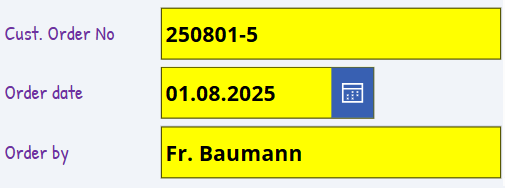
In editing mode, technicians can modify the customer order data (customer order number, order date, ordered by).
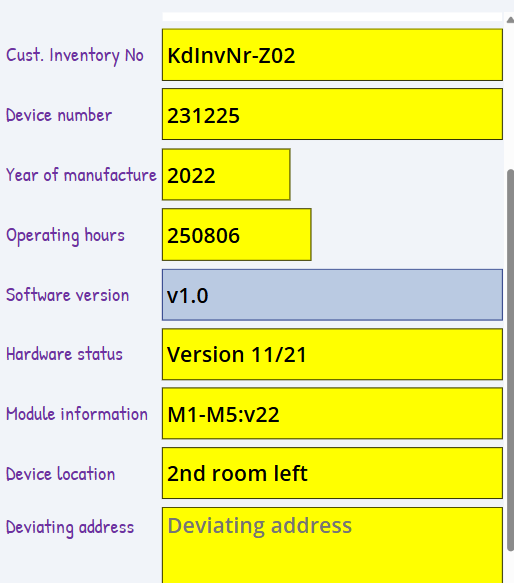
Inventory data is displayed by the app pssService Phone on the screen 'Service activity' in the container 'Customer inventory'.
Container: Customer inventory
Edit: By clicking this icon, the editing mode can be accessed. The icon is only visible to users who belong to the app user group 'Technician'. The icon is not visible if a report has already been requested and approved.
In edit mode, technicians can change the inventory data. The data that can be recorded about a customer inventory has been determined by your admin during the installation of the solution for each device type.
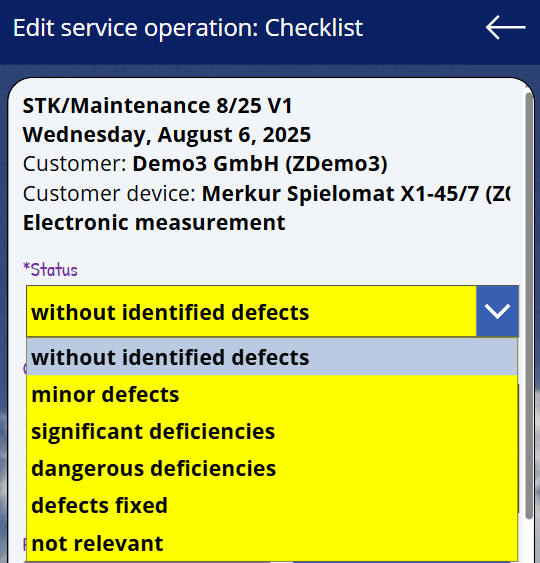
The checklist is the main part of the service activity. The checklist depends on the device type and can include up to 25 check points. The specific check points listed were determined by your admin during installation.
Container: Checklist
All OK: By clicking on this icon, all entries for which no status has been recorded will be set to the default status value (= first entry of the status selection). The status values available for each checkpoint have been set by your admin during installation. Tip: Select All OK, then edit the entries that were not OK and adjust the results.
Edit checkpoint: As long as no report has been requested and approved, technicians can switch to editing mode with a click on a checkpoint and change the data.
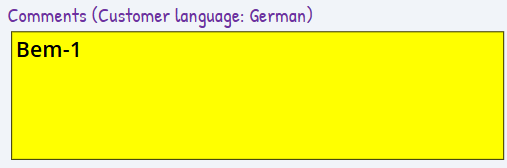
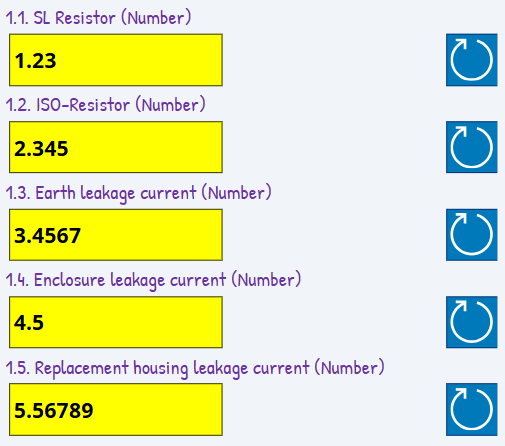
Set status. The status that can be recorded for a checkpoint has been determined by your admin during the installation of the solution. Add comments. Whether comments need to be recorded depends on the status. When comments are recorded, please pay attention to the customer's language! The customer should be able to read and understand the comments. An image can be uploaded. If additional fields were configured for a checkpoint by your admin, then your technicians must also capture the information (mandatory fields). Up to 5 fields of type text input, number input, radio button, and dropdown can be configured per checkpoint. You can also carry over the values from the last operation.
Finally, select 'Save Data'. The recorded data will be displayed in the checklist.
The app pssService Phone displays spare parts, accessories, and disposable items on the 'Service activity' screen in the 'Spare parts, accessories, and disposable items' container.
Container: Spare parts, accessories, and disposable items
Add: With this icon, an entry can be added to the list. The screen "New Spare Part / Accessory / Disposable Item" will be displayed.
Edit entry: As long as no report has been requested and approved, technicians can switch to editing mode and change the data with a single click on an entry.
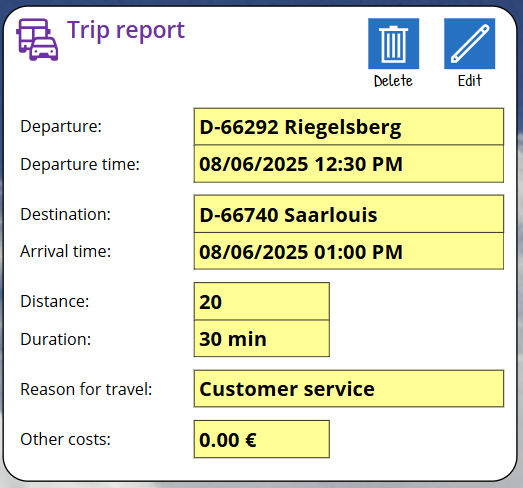
The app pssService Phone displays details for your arrival on the screen "Service activity" in the container "Trip report".
Container: Trip report
Delete: By clicking on this icon, the trip report can be deleted.
Edit: By clicking on this icon, the editing mode can be accessed. The icon is only visible to users who belong to the app user group 'Technician'. The trip report can also be adjusted even if a report has been requested and approved.
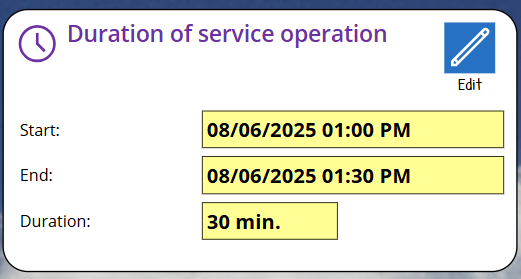
The working time is displayed by the app pssService Phone on the screen 'Service activity' in the container 'Duration of the service activity'.
Container: Working hours
Edit: By clicking this icon, the editing mode can be accessed. The icon is only visible to users who belong to the app user group 'Technician'. The icon is not visible if a report has already been requested and approved.
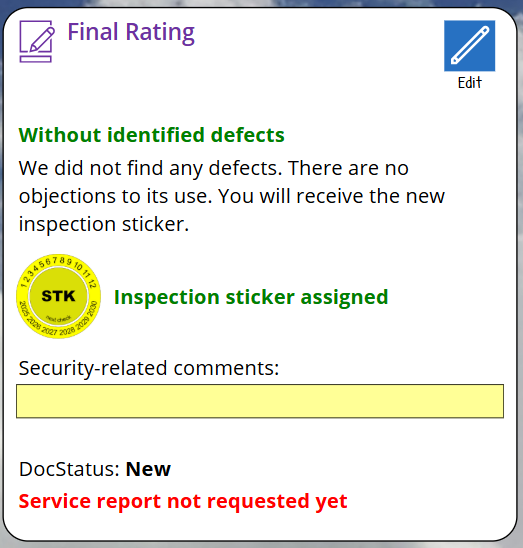
The final rating shows the overall status (status, defect class, sticker) from the entries in the checklist. This is displayed by the app pssService Phone on the screen 'Service activity' in the container 'Final rating'.
Container: Final rating
Edit: By clicking this icon, the editing mode can be accessed. The icon is only visible to users who belong to the app user group 'Technician'. The icon is not visible if a report has already been requested and approved.
In editing mode, technicians can record safety-relevant comments and request the service report. When the service report is requested, the final data of the service activities are stored in the SP lists and the Power Automate Flow is triggered.
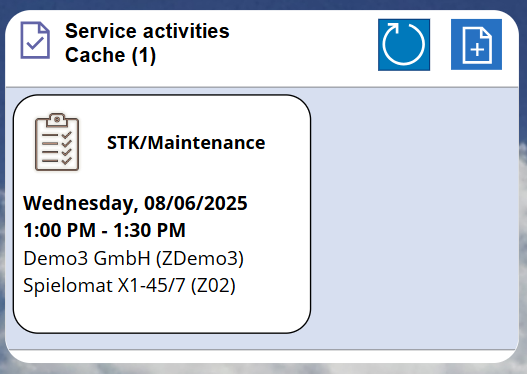
The start screen of the app pssService Phone displays open activities of the technician in the container "Service activities (Cache)". Open means that no report has been requested yet.
A click on an activity opens the 'Service activity' screen and displays the selected activity.
Please note: Only the Power Apps Mobile App supports storing and retrieving data on the smartphone/iPhone. The service activities will then also be available again after a restart of the app pssService Phone. The Teams app, Edge and Chrome do not support this feature! To bypass this limitation, the app pssService Phone will attempt to store the data of the service activities online in SharePoint and read from SharePoint upon restart. This, of course, only works if the device is online.
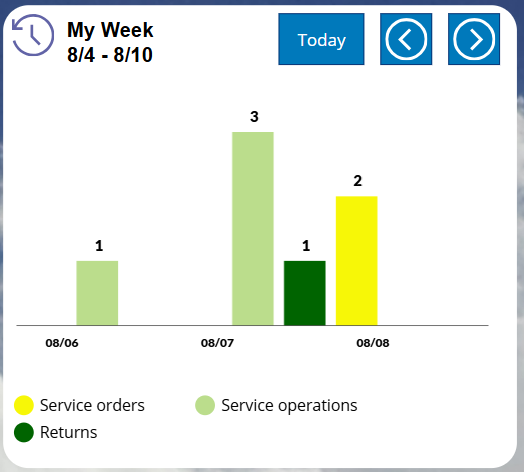
The start screen of the app pssService Phone shows a bar chart for the selected period and lists
the number of open service orders and reminders from the technician per day,
the number of service activities recorded by the technician per day and
the number of return trips recorded by the technician per day.
The selected period always covers one week (the first day of the week is always Monday).
Today: With a click on this icon, the period (Mon-Sun) will be reset to the current week.
Back: By clicking on this icon, the period (Mon-Sun) will be decreased by one week.
Next: By clicking on this icon, the period (Mon-Sun) will be increased by one week.
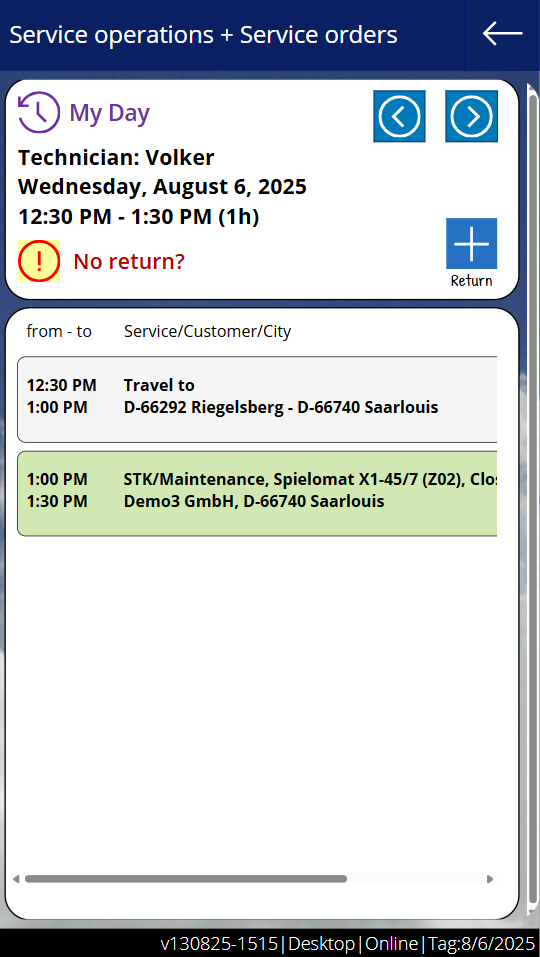
A click on a bar in the chart opens the 'My day' screen and displays the open appointments, recorded tasks, as well as the arrivals and departures for the selected day.
Back: Clicking on this icon will display the previous day.
Next: By clicking on this icon, the next day will be displayed.
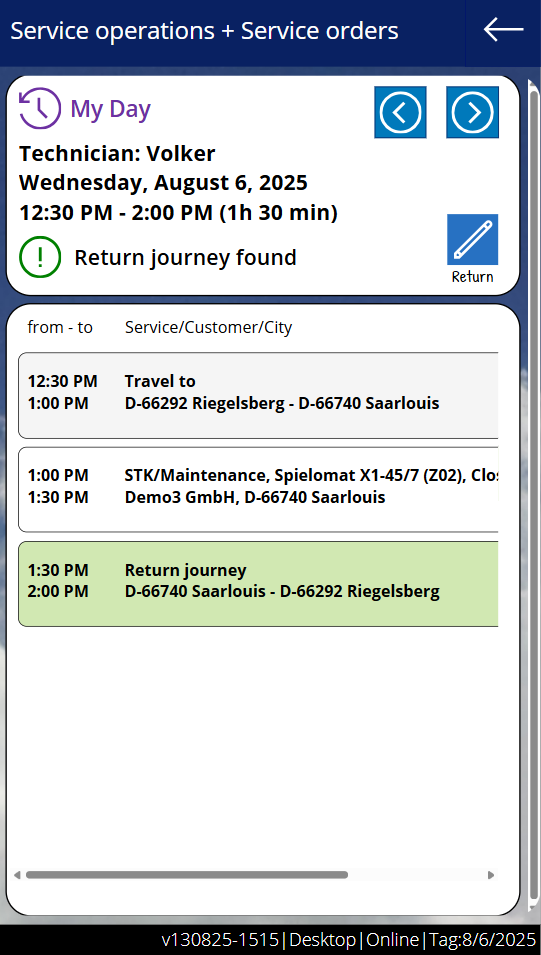
Add return journey: This icon can be used to record a return journey.
By clicking on an order / a reminder, the 'Service order' screen will be displayed.
By clicking on a trip, the 'Service activity' screen will be displayed.
By clicking on an activity, the 'Service activity' screen will be displayed.
By clicking on a return trip, the 'Return journey' screen will be displayed.
Screen: Return journey
The return journey will be displayed on the 'My day' screen after saving.